
One of the mainstays in the bodyweight workout arsenal is the bodyweight skull crusher.
An amazing exercise that focuses on your triceps and some of your deltoids, skull crushers have been building teardrop arms for decades.
In this article, we’ll go over what bodyweight skull crushers are, how to set up for the exercise, technique, and all of the benefits associated with bodyweight skull crushers.
Let’s dive into some calisthenics!
What are Bodyweight Skull Crushers?
You may have heard about traditional skull crushers.
Those ones involve using an EZ-bar, sitting on a weight bench, and bringing your arms up near your head so that the bar goes above your head instead of actually crushing it.
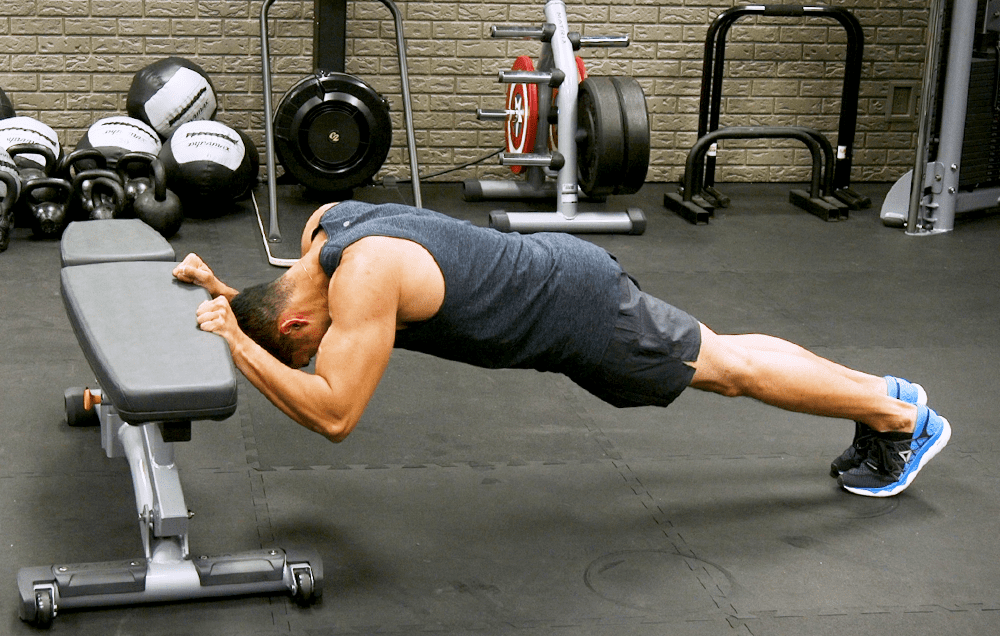
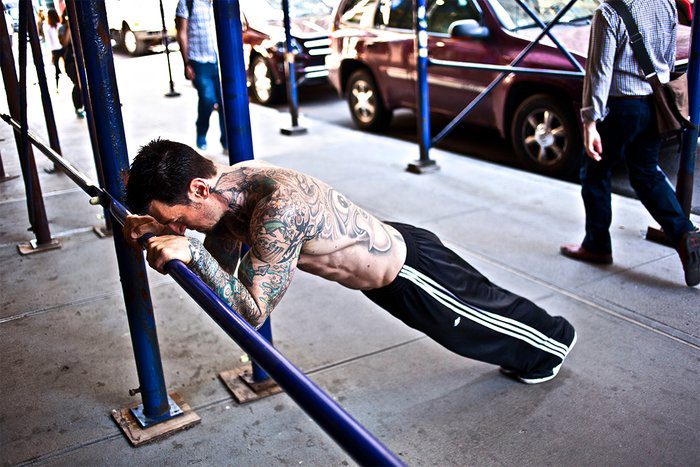
Bodyweight skull crushers are a totally different beast.
For one thing, you completely flip your body so that you’re facing the floor. When you do this 180, you allow gravity to be your resistance.
Hence the name: you’re using your body’s weight to perform the skull crushers.
Because of this, form is pivotal when performing bodyweight skull crushers. (Which we will get into in a future section.)
This particular exercise is a wonderful addition to a full-body workout or can be used as a standalone triceps trainer.
Ideally, you would pair this calisthenics move with other upper body push movements, such as push-ups variations and handstands.
Other than the diamond push-up, bodyweight skull crushers are the best at targeting your triceps muscles quickly and efficiently.
Setting Up For Bodyweight Skull Crushers
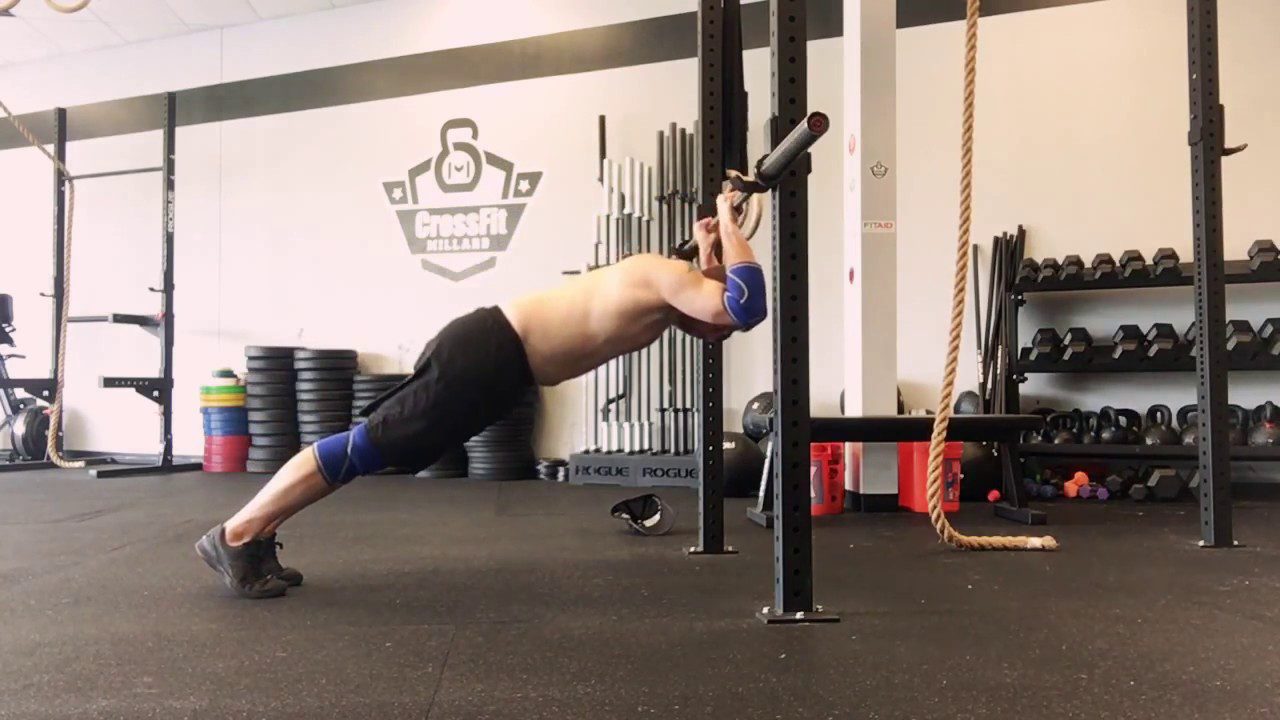
To start out, you’ll need a horizontal bar that can sustain your weight and be between a foot and four feet off the ground.
This is where your hands will grip and will hold your entire weight.
The reason behind the range is you’ll want to adjust your height based on ability; the lower you put your bar, the more difficult it will be.
Just as important, you’ll want to have solid support for your shoe grip.
This is where you could get tricky. A simple mat should suffice to keep your feet from sliding along the floor once you give up your body weight to gravity.
Read More: Best Home Gym Flooring to Improve Your At Home Workout Space
However, if you are confident about your abilities and have access to one, you can put a Bosu ball under your feet.
This should keep your shoes locked in place and forces you to engage your core throughout the whole movement.
That’s it. Setting up for bodyweight skull crushers is quite simple, as any calisthenics exercise should be. This allows you to set up anywhere, anytime, even in your own house!
Bodyweight Skull Crushers Technique
Technique is crucial to get right when doing bodyweight skull crushers.
There are three main points to get dialed in before you start repping them out like a maniac: elbow position, how far to dip, and leg position.
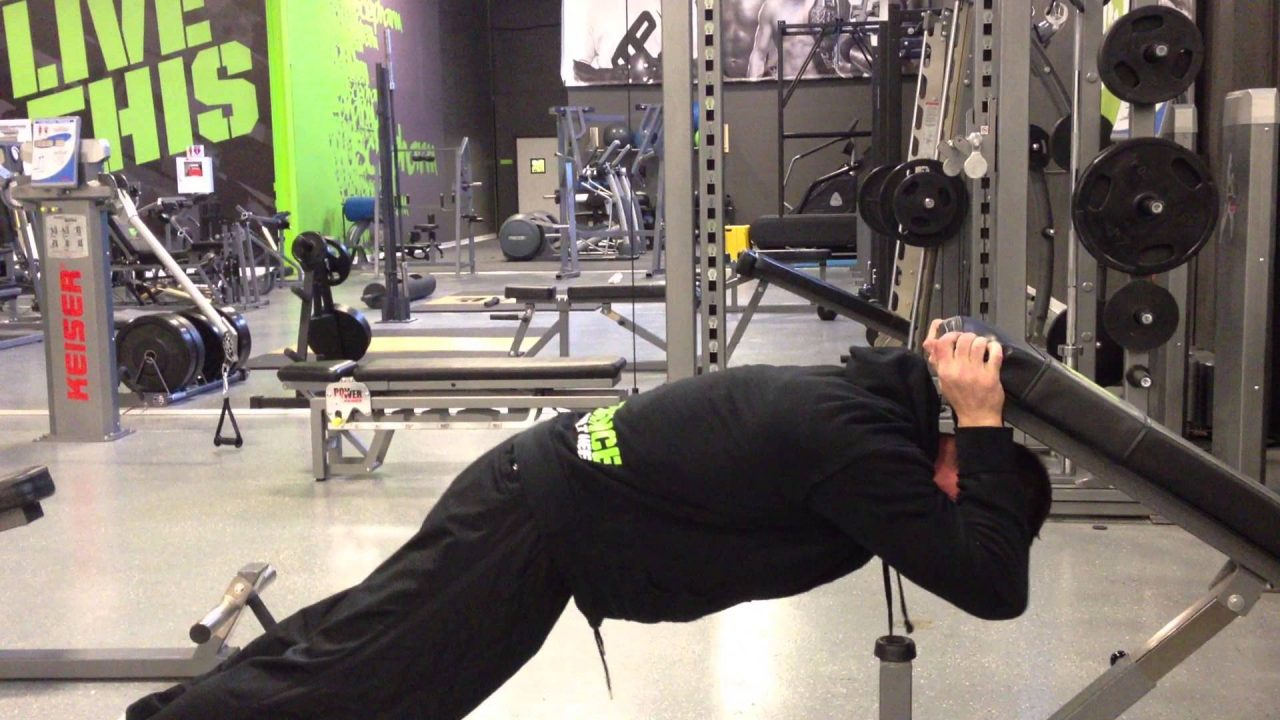
First, elbow position.
This one is easy: Place your hands on the horizontal bar at shoulder’s width. This means your hands should be a little over a foot and a half apart on the bar.
As for your elbows, you must keep them tucked in next to your body. This keeps your arms from flaring out, which puts excess pressure on your shoulders and elbows. So just keep in mind–hands at shoulder’s width, and keep your elbows tucked in.
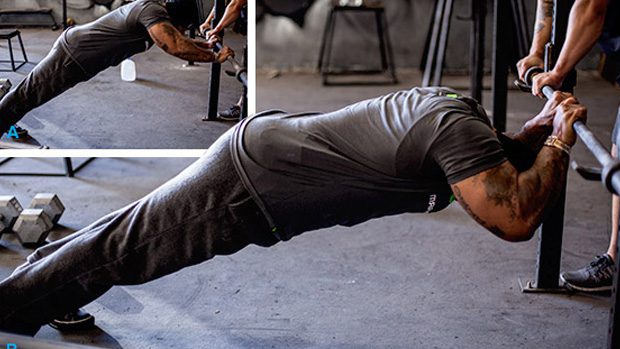
Second, dip depth. Essentially, you want to dip below the horizontal bar.
In order to get under the bar without having to strain your neck to get your head through, be far enough away so that your head can pass underneath with ease.
Your feet should be a few feet behind the bar, allowing for your triceps to handle most of your weight and giving your head breathing room when you lower yourself under the bar.
In a nutshell, dip under the bar by bending your elbows.
Lastly, leg position. You can consider this as full body positioning, too. That’s because your entire body should be ramrod straight.
During the movement, it shouldn’t be moving on its own accord. The only body part that moves should be your elbow.
That’s it.
At the bottom of the rep, the top of the rep, and the entire time in between, your legs, torso, and chest/back should be a pillar of stone.
This final technique–keep your body rigid–will keep you from cheating on your reps by using your bigger body parts to carry the load. It makes this exercise extremely tough, which is how it should be.
That’s why we recommend beginning with the bar really high up. It lowers the angle perpendicular to the floor, meaning less gravitational pull and less body weight pushing down on you.
Even if the bar is high, you still should scoot your feet back a little so that your head passes underneath safely and so that you feel the strain in your triceps.
For a full rep: Starting with your arms in-line, bend at the elbows, bringing your body under the bar.
Once your elbows are at a ninety-degree angle, push back up using only your triceps and extending your elbows. When they get back to straight, that’s one rep.
Bodyweight Skull Crushers Benefits
Of course, you wouldn’t do any exercise if there weren’t obvious and tremendous benefits. Here are some of the great advantages of adding bodyweight skull crushers to your calisthenics workout routine:
- They directly impact your triceps: By far the best benefit to bodyweight skull crushers. Your triceps will be utterly useless by the end of your reps and sets. Just like a traditional skull crusher, it affects the long head of the tricep, which is what creates that teardrop look in the back of your arm when you flex. By continuously progressing this exercise, your triceps will get bigger AND stronger.
- Your core gets a workout as well: Because you’re leaning at an almost perilous level, you have to engage your core to keep your body rigid and straight. This gives you an unbelievable core workout. This exercise pulls double duty, which is always a great thing.
- They have an obvious progression model: When you get proficient at the bodyweight skull crusher, there’s a simple–but not easy–way to progress to a higher degree of difficulty: lower the bar. The more you lower the bar, the tougher it gets because you’re taking on more and more of your body’s weight. Therefore, throughout the weeks of training, you can stick with the same exercise until you get really close to the floor. This should definitely give you thick, powerful triceps.
- You don’t need any other triceps exercise: This can be your end-all, be-all movement for your triceps. It works not only the long head of the triceps, but the shorter heads as well. By performing bodyweight skull crushers as little as twice a week (we’ll go over the best way to do these in the next section), you don’t need anything else.
With one teeny tiny exercise, you get a host of benefits. This makes bodyweight skull crushers more than worth doing.
The Best Way to Perform Bodyweight Skull Crushers
Too much of a good thing is sometimes a bad thing. The same can be said with too little. Therefore, there’s an ideal way to use bodyweight skull crushers to your triceps’ benefit.
How many times should you do bodyweight skull crushers per week?
Once or twice. Twice is ideal for those just starting out; once you get proficient at them, you’ll need more recovery time between each workout.
And while triceps are smaller muscles compared to others in your body, it still takes a while to get out of soreness when doing bodyweight skull crushers.
How many sets and reps?
This can vary from person to person as well. However, the ideal way in our opinion is to reach failure in one or two sets total.
In order to get to failure, perform each rep with a 5/5 cadence. This means lowering your body below the bar slowly, for a count of five seconds.
Then, without pausing at the bottom, start coming back up slowly, for another count of five seconds. Quick, no rest at the top either! Go back down for five seconds.
This maximizes your Time Under Tension, which is the time that breaks down your muscle so that it grows back stronger during your recovery time.
Once you reach failure (meaning you can’t come back up 100%), hold your position wherever you got stuck, then really, really slowly bring yourself back down under the bar.
Once you get to the bottom, then and only then are you allowed to bring your feet forward and remove the weight from your triceps.
If you do bodyweight skull crushers this way, your triceps will be screaming at you after one, maybe two sets. That’s all you need. Then you wait until you’re no longer sore before going after it again in the week.
This technique can be utilized for almost any other exercise, calisthenics or traditional. (Just make sure you have a spotter for those heavy weightlifting movements that can leave you compromised at the end!)
Conclusion
Bodyweight skull crushers are terrific for you. The calisthenics version of anything usually provides its own twist on a bodybuilding classic.
The skull crusher has been bruising triceps for eons; using your own body’s weight just makes you that much more of a badass.
Make sure you read up on the setup and technique so that you avoid unnecessary injury.
By perfecting how to perform the bodyweight skull crusher, you can progress seamlessly and develop big, bulging triceps. All with just your body and a few pieces of available equipment!
We wish you the best of luck with your calisthenics journey!